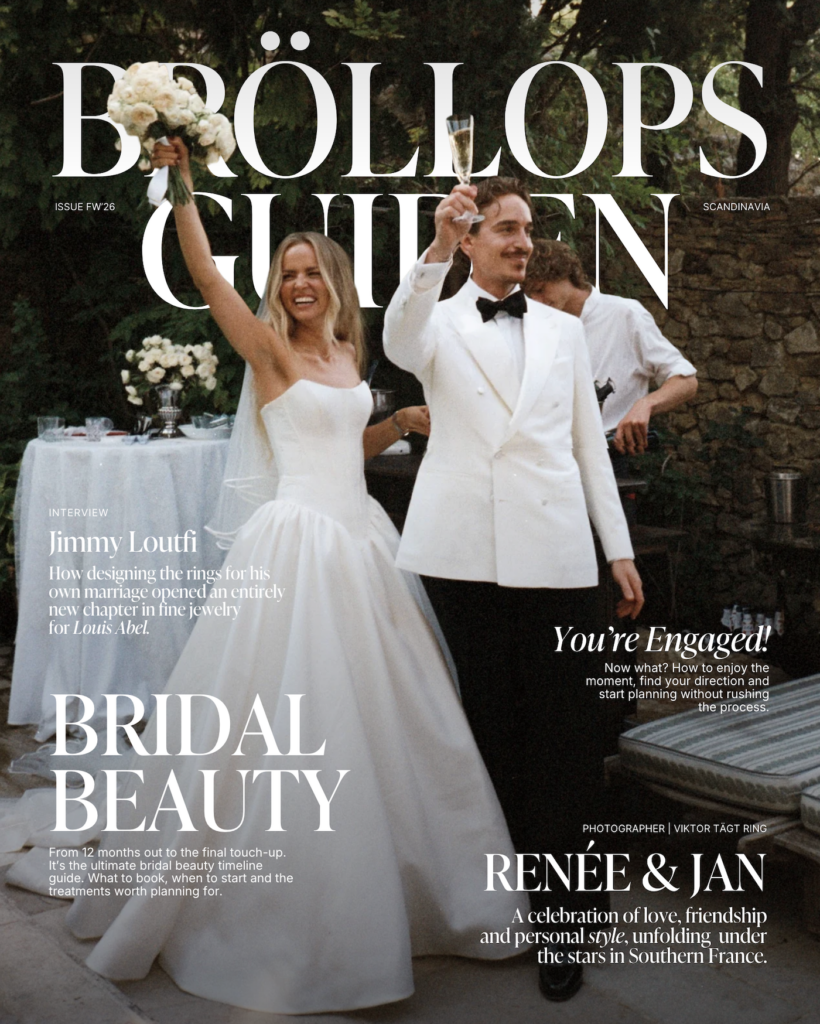
ISSUE FW’26
In our new FW’26 issue, we take you to the south of France and to Renée and Jan’s wedding, which was a celebration of love, friendship and style. We also sit down with Louis Abel founder Jimmy Loutfi for an in-depth interview about how his own wedding rings marked the start of a new chapter in fine jewellery, and look ahead to New York Bridal Fashion Week for the silhouettes, details and ideas that will set the tone for the coming season.
Styling
Make your own bridal bouquet
Create your own artistic bouquet. We’ll show you how to make this beautiful bridal bouquet; print out the full instructions (PDF) with templates and pictures.
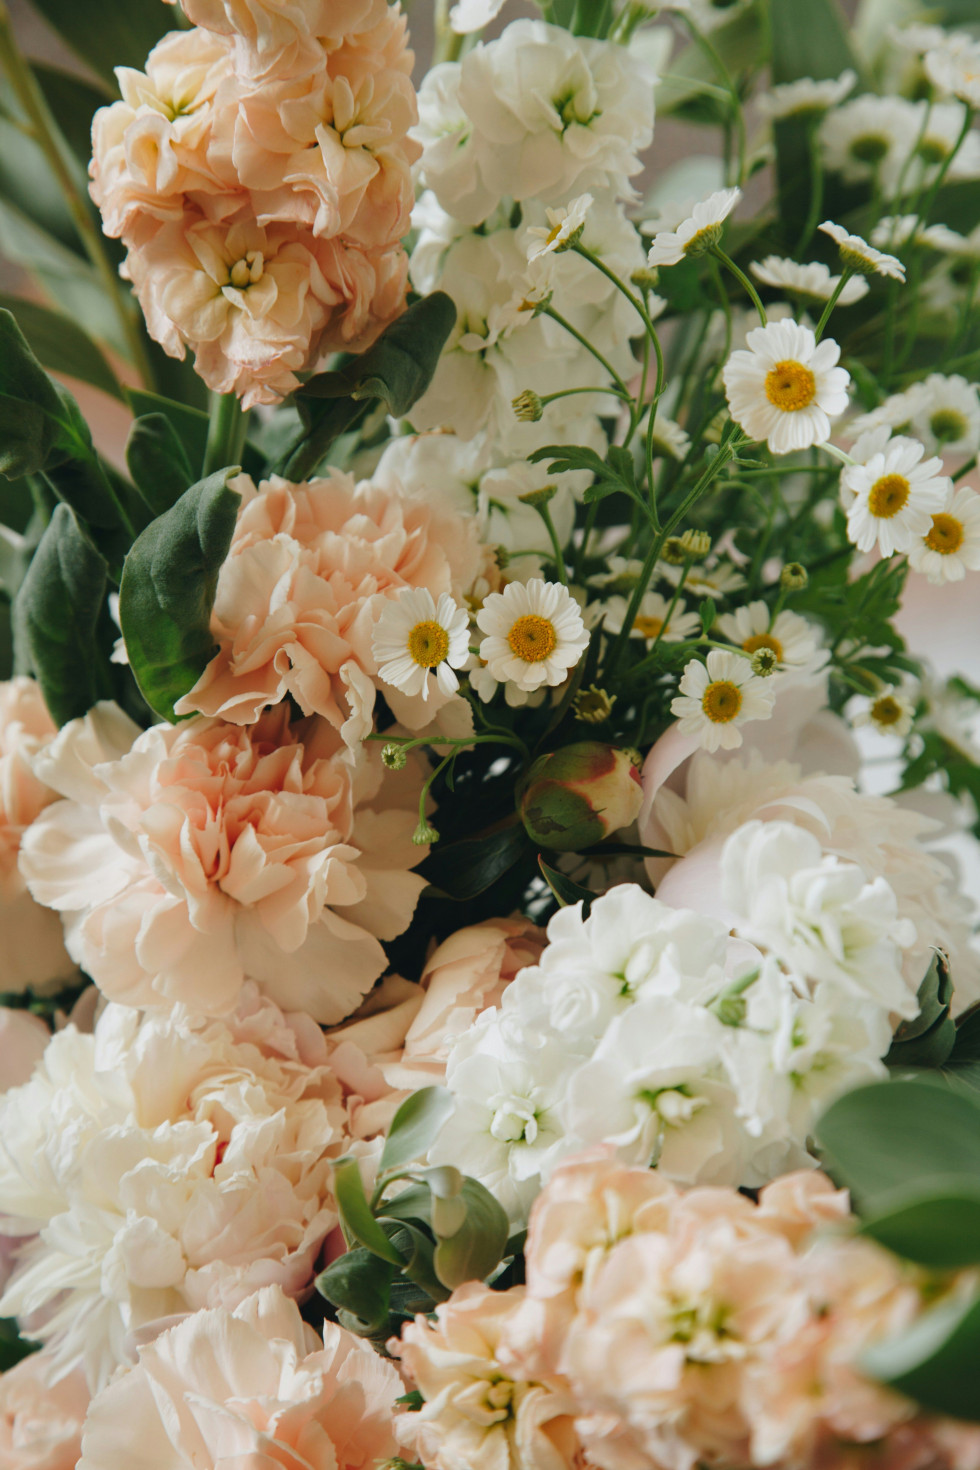


An alternative to real flowers could be artificial flowers. Madeleine Ahlström works as a nurse, but in her spare time she creates beautiful floral arrangements from coffee filters. We’ll show you how to make this beautiful bridal bouquet. Print out the full instructions and templates via the link below on the right.
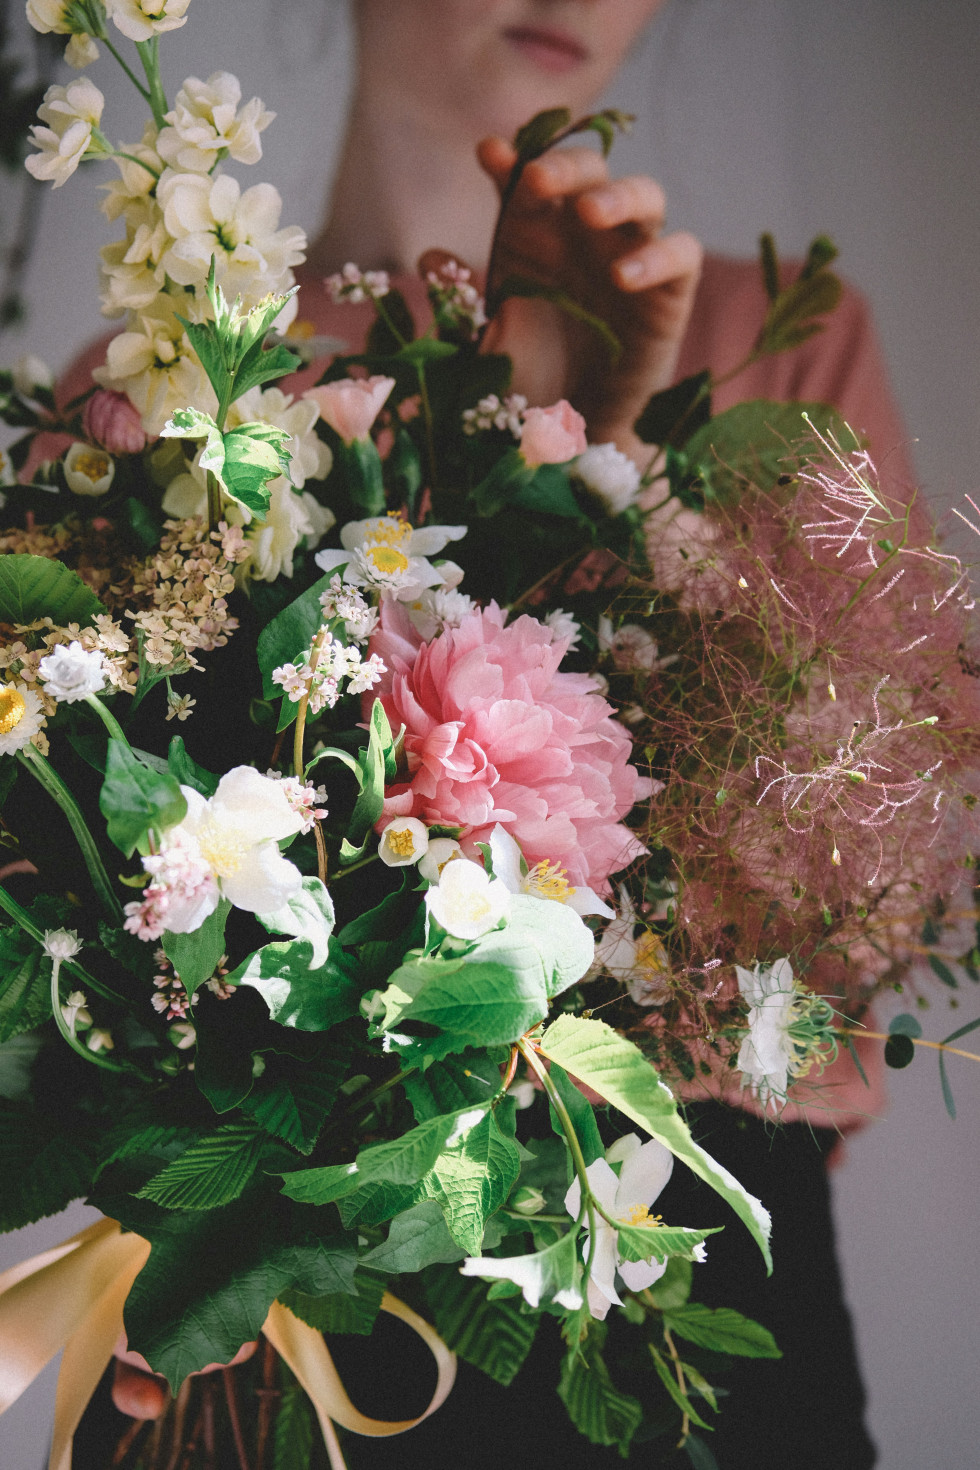
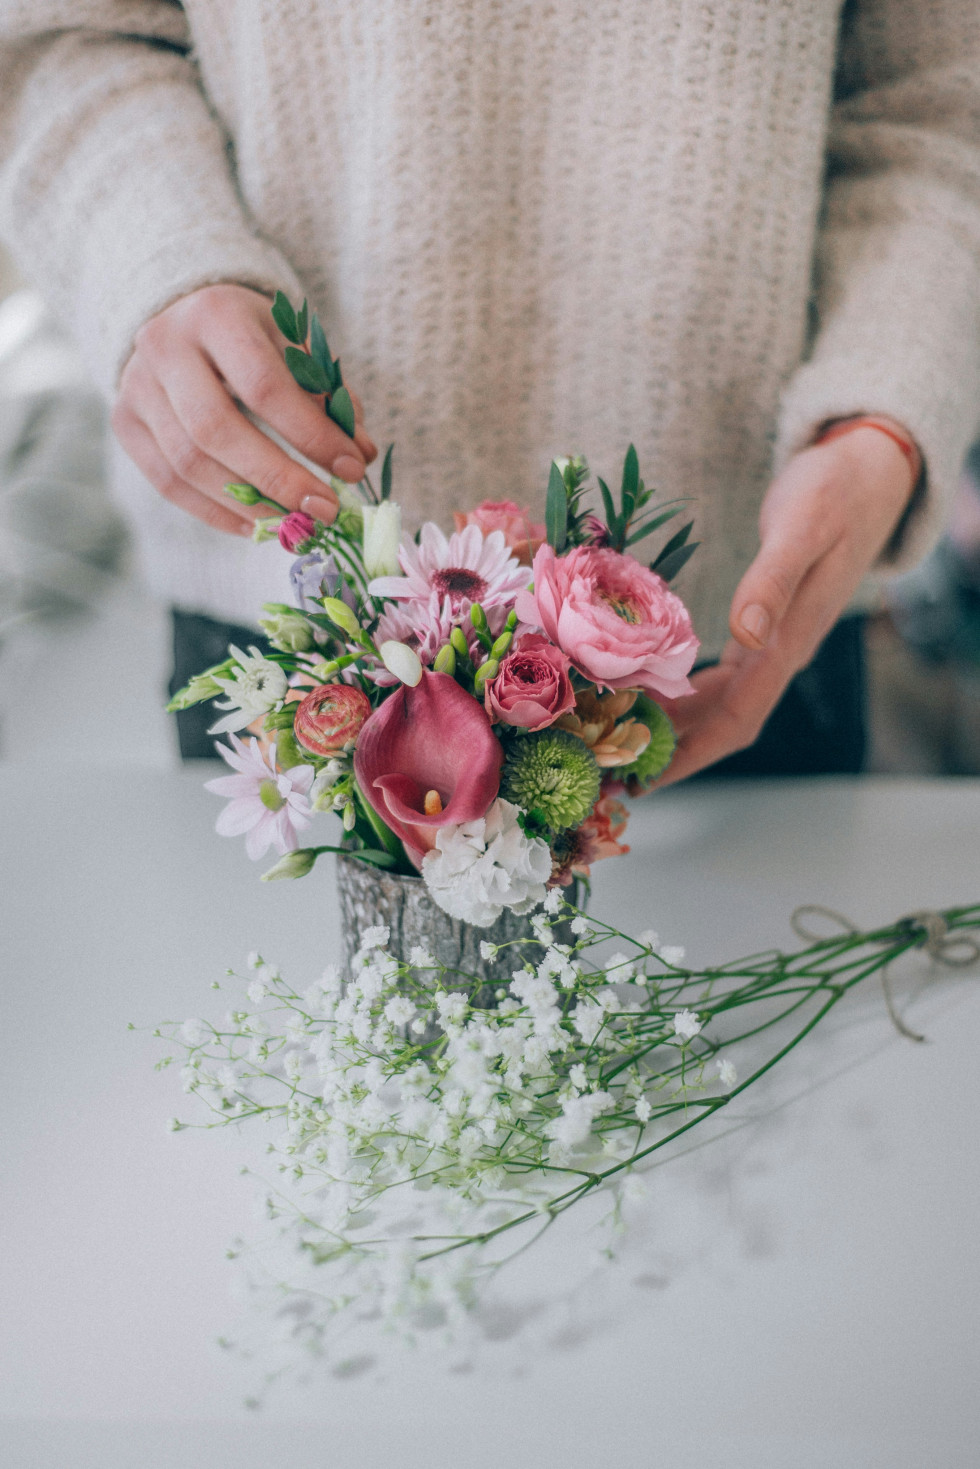
Materials you’ll need for a bridal bouquet:
– 1 pack of white coffee filters
– Florist’s wire
– Florist’s tape
– Watercolour paint (in tubes. Colours: White, Cadmium Yellow, Cadmium Red, Rose Madder)
– Flat brush
– Round brush
– Bamboo skewer
– Decorative pins
Method:
1. Cut out the ‘leaves’ from the coffee filters (see the templates in the instructions, which you can print out via the link above on the right).
2. Wrap a bit of florist’s tape around the steel wire.
3. Take leaf 1 and thread the skewer between the two leaves, then twist it securely onto the skewer. Secure the leaf with florist’s tape. Remember to pull the tape slightly as you secure it; this activates the wax in the tape, causing it to stick to itself. Take leaf 2 and do the same as with leaf 1.
4. For leaf 3, you can remove the sealed edge at the base (this leaves less paper to wrap round and the base of the leaf won’t be so bulky); open it up so that it looks as if there are four leaves, twist the leaf round the others and secure it with tape.
5. On leaf 4, you can also remove the seamed edge before opening it up; this creates five leaves to be wrapped around the others. make sure the petals cover the gaps in the rose-to-be (the petals should not lie on top of one another but should be laid in an overlapping pattern on each layer) and tape them in place.
6. The three separate petals, petals 5–6, should be placed evenly around the rose-in-the-making and secured with tape. Do this three times using petals of the same size. For the next size of leaves, leaves 7–8, add nine leaves (which makes a standard-sized rose) or up to 80 leaves for a really large, fully opened rose; you’ll still need three leaves for each section when securing them with tape. Make as many roses as you need for your bridal bouquet or floral arrangement; it’s important that the roses are similar in colour.
7. Once all the roses are finished, start opening up the flower by working from the outermost petals to the innermost ones, gently pulling the petals downwards and outwards. You may need to do this a few times before you’re satisfied. Open up all the roses before moving on to the next step.
8. Get out the watercolours and apply a base coat to the roses. The base coat consists of white and a very small amount of the colour the finished roses are to be. Paint one rose at a time. Start with the base colour and use the flat brush; make sure all the petals are coloured – this is important for the next step. Now mix a little of the colour the roses are to be into the watercolour; it mustn’t be too strong to begin with – it’s easier to add more colour if needed. Take the round brush, dip it in the watercolour, and draw the brush along the edge of the petals, one at a time, so that the colour spreads along the petal; the centre of the rose usually has more colour than the outer petals. The final step in colouring the rose is to use the same colour as before, but in a more concentrated form; the colour should only be applied to the tips of the petals. Paint as many roses as possible at a time; this will ensure they are colour-coordinated for the bouquet or arrangement you are putting together. NOTE: The roses must now be left to dry for 24 hours.
9. Take the skewer and start rolling the edges of the petals outwards; you can fold the petals back the closer you get to the centre of the rose. Then fold the petals upwards. Once you have done this for all the roses, assemble the floral arrangement. If the leaves are drooping too much, secure them again by taping a little higher up on the leaves – this will give them more support. Depending on what the roses are to be used for, it may be necessary to wrap tape all the way around the skewer.
All the roses are now ready!
10. Tape the decorative pins to the steel wire, taking care not to tape all the way up the pin if it is to protrude from the bridal bouquet. Pins can be bought ready-made or made yourself from various materials (hat pins with beads and crystals to match the arrangement).
11. Assemble the roses into a floral arrangement – in this case, a bridal bouquet.
12. Stick decorative pins here and there throughout the bridal bouquet.
13. Secure the bridal bouquet with tape. Done!
Fact:
One pack of coffee filters makes 25 roses if you use the whole filter by cutting out the individual petals (5–6, 7–8) after you’ve cut out the four base petals.
NB! Florist’s tape should be kept in the fridge when not in use, otherwise it will dry out and become harder to work with.
Tips on where to buy:
Tand Fondant / www.tantfondant.se: Florist’s tape, florist’s wire.
My Perfect Day / www.myperfectday.se: Decorative pins.
Panduro / www.pandurohobby.se: Florist’s tape, florist’s wire.
Coloured coconut fibre is available from florists.
Find your florist
Need help finding suppliers for your wedding? Take a look at our business directory.
Related articles
-
 Styling
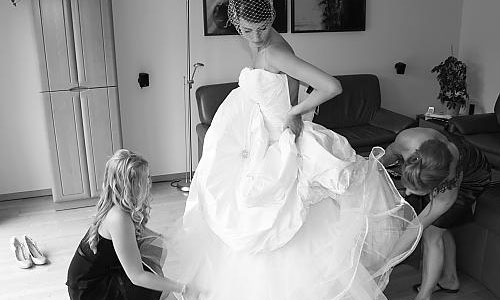
Wearing a wedding dress
Are you planning your big day? Here are 10 important things to bear in mind when trying on your wedding dress – from fit and…
-
 Styling
All body types
Find the perfect wedding dress for your body shape. Discover our tips for choosing a dress that flatters your figure and makes you look radiant…
-
 Styling
Clinic Divine
Clinic Divine has a good reputation and offers a wide range of services. The salon chain has branches in Stockholm, Gothenburg and Malmö.
-
 Styling
Bubbleroom Wedding Shop
Find your dream dress at Bubbleroom – whether you’re the bride, a bridesmaid or a guest!
-
 Styling
Andreasen the Goldsmith
Kultasepät Andreasen is a Tampere-based jeweller’s, founded by Reijo Andreasen 30 years ago. The shop and the workshop are located in the same premises.