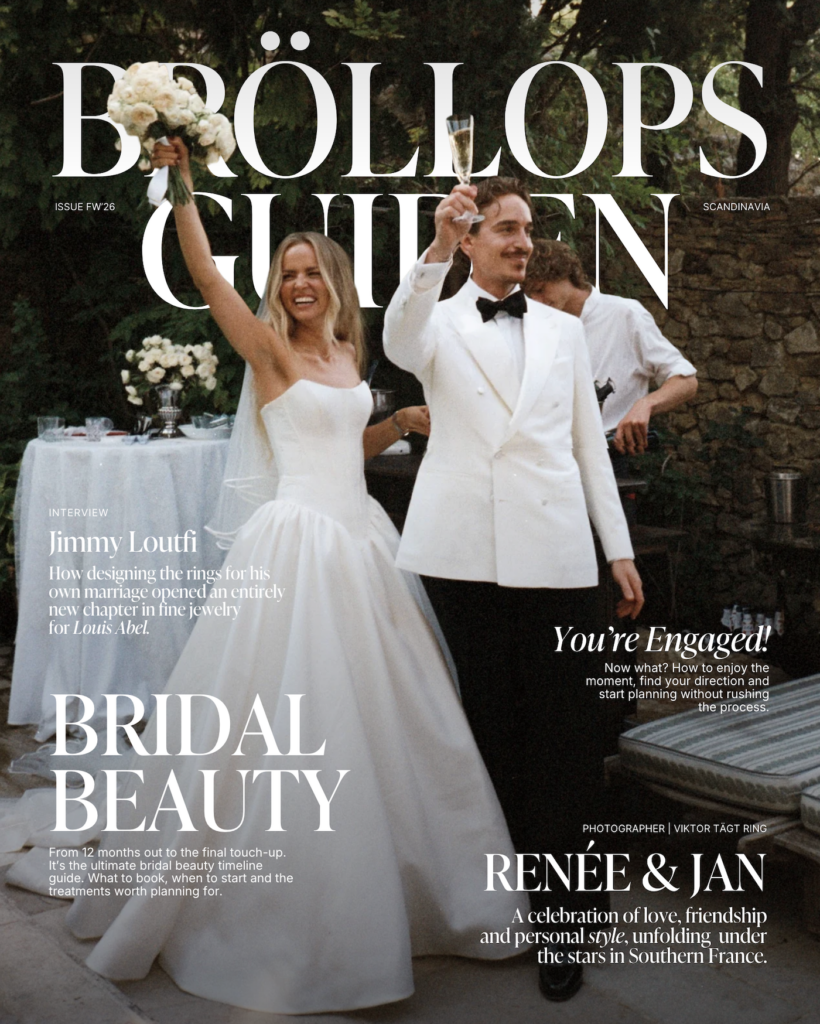
ISSUE FW’26
In our new FW’26 issue, we take you to the south of France and to Renée and Jan’s wedding, which was a celebration of love, friendship and style. We also sit down with Louis Abel founder Jimmy Loutfi for an in-depth interview about how his own wedding rings marked the start of a new chapter in fine jewellery, and look ahead to New York Bridal Fashion Week for the silhouettes, details and ideas that will set the tone for the coming season.
Planning
Custom wedding invitations: Create personalised invitations
Are you planning to make your own wedding invitations? We’ll guide you step by step, from choosing materials to writing the text and getting them printed. Find inspiration for your personalised DIY cards here!
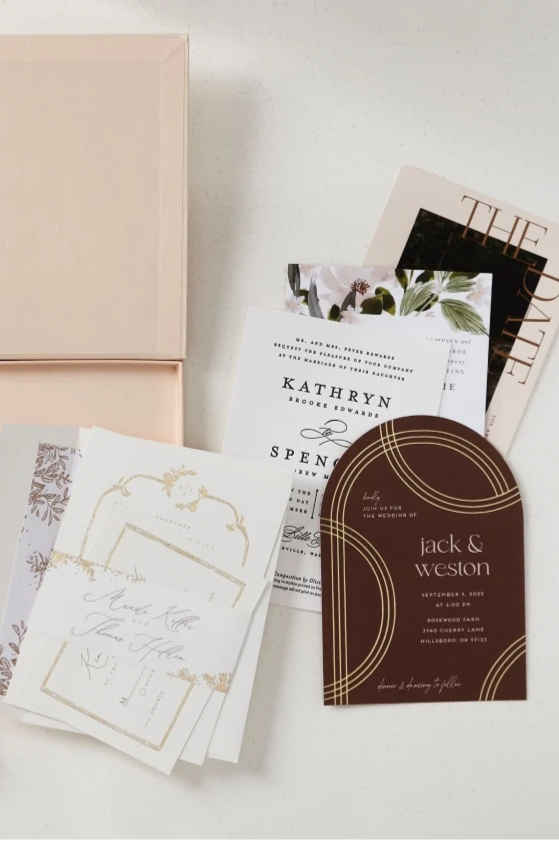


Creating your own wedding invitations is one of the most personal ways to set the tone for your big day. It gives your guests a first glimpse of your theme, whether you’re dreaming of a rustic country house wedding or a modern city celebration. Here’s our complete guide for those of you who want to go the DIY route.
Wording for your own wedding invitations
Many people get stuck on the wording itself. When you make your own wedding invitations, you have the freedom to write exactly what you want, but remember to include the most important details:
The RSVP deadline.
Who’s getting married.
Date and time.
Venue for the ceremony and reception.
Dress code (e.g. dark suit or smart summer attire).
Step 1: Find your style
First and foremost, think about the vibe you want the invitation to convey. Do you want something romantic, vintage or perhaps minimalist and modern? Browse Pinterest, wedding magazines and social media for inspiration. This is an important first step, as the style of the invitation often reflects the atmosphere you want at the wedding itself.
Step 2: Choose materials and colours
Once you’ve decided on a style, it’s time to think about materials and colours. Watercolour paper, recycled paper or pearlescent finishes can give the invitation a unique feel. Bear in mind that the colours should ideally reflect the wedding’s colour scheme. Feel free to incorporate shades from the flowers, the attire or other decorative elements you’re planning for the day.
Step 3: Write a heartfelt message
Writing the invitation text is a great opportunity to add a personal touch. It can be simple and classic, or more relaxed and playful, depending on your own personality and the wedding’s theme. Think about how you’d like to welcome your guests – perhaps with a personal anecdote or a loving message.
Step 4: Add personalised decorations
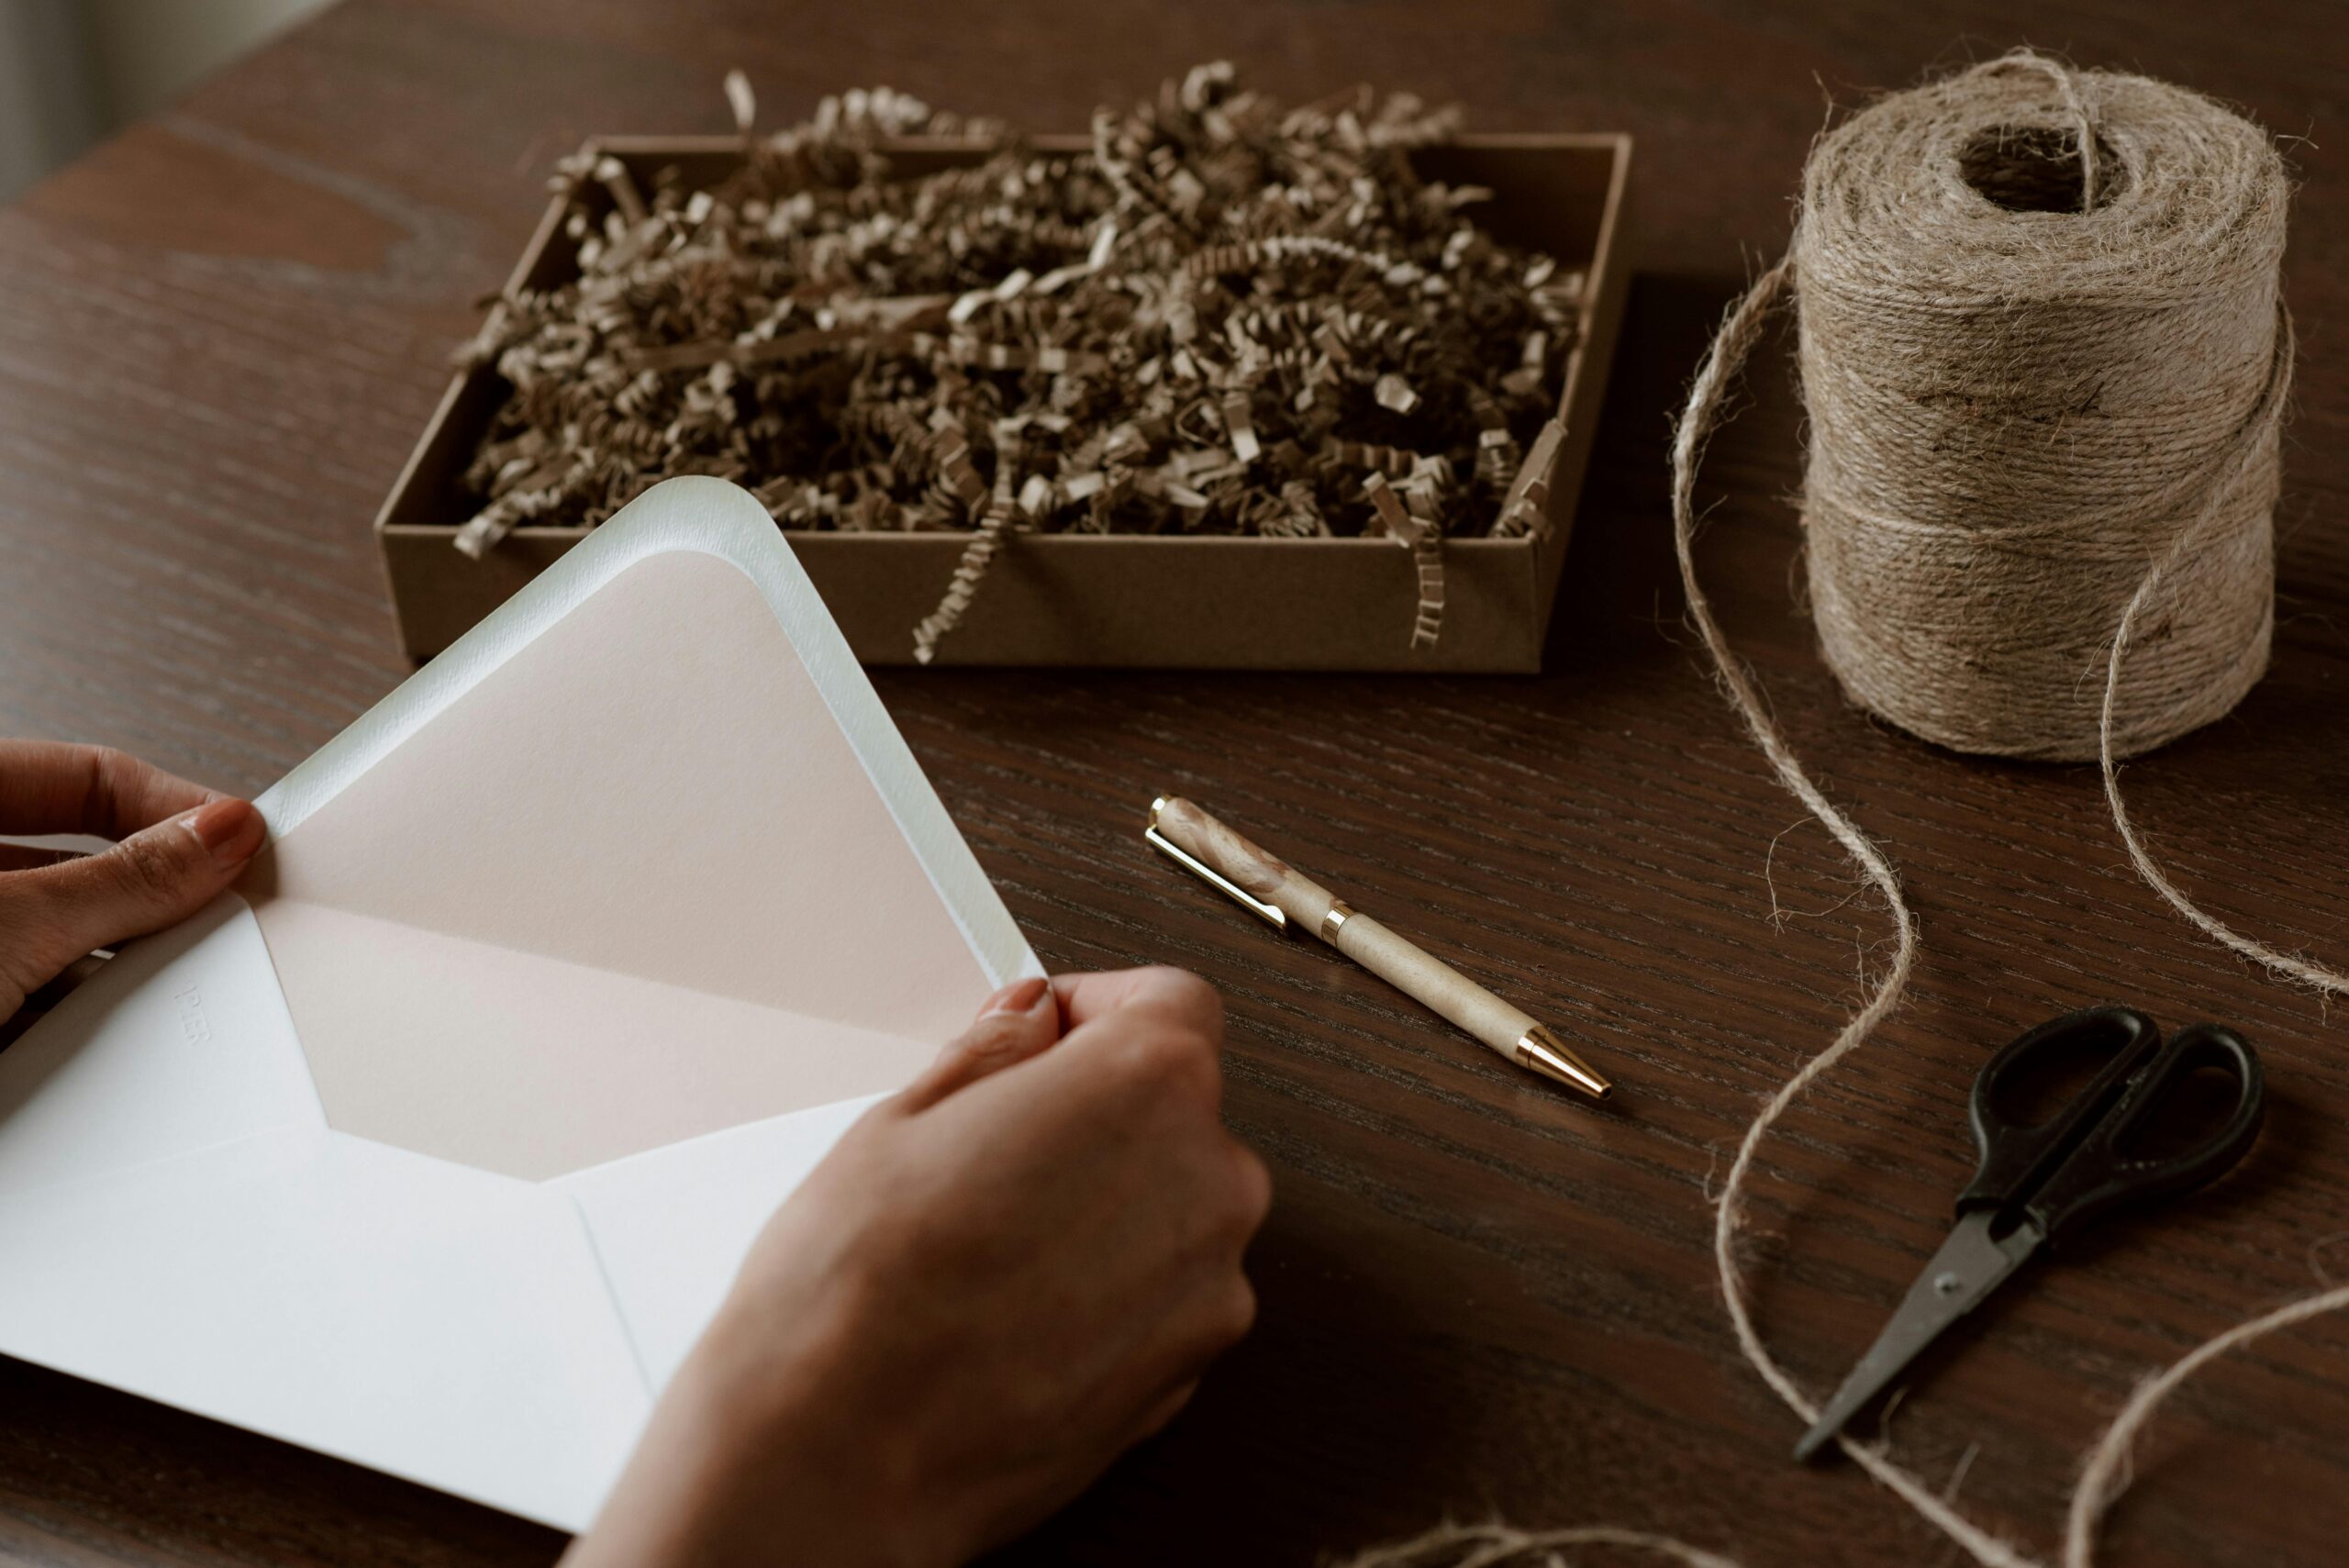
Making your own wedding invitations opens up a whole host of creative possibilities! Decorate the cards with details such as lace ribbons, small flowers, stamps or wax seals to create a luxurious and unique feel. For a rustic theme, you could add jute twine or small twigs, whilst pastel colours and silk ribbons lend a romantic and dreamy touch.
Step 5: Think about the details
Don’t forget to include details about the day, such as the time and venue for the ceremony and reception. A separate RSVP card can be handy so that guests can easily let you know whether they’re coming or not. For a digital touch, you could include a QR code that links to a website with more information about the wedding.
Step 6: Handmade or digital printing?
Once you’re happy with the design, it’s time to think about how you want to produce the invitations. Do you want to print them at home or send them to a printer? It’s a good idea to choose a local printer to minimise delivery times and get a personalised service. For those who want to do it all at home, high-quality printer paper and good ink cartridges are essential for a stylish result.
Materials tips for DIY invitations
When making your own wedding invitations, the choice of paper is crucial.
Watercolour paper: Gives a luxurious and artistic feel.
Kraft paper: Perfect for a rustic or bohemian wedding.
Transparent paper (vellum): Looks lovely layered over an image or text.
Tips for a smooth DIY process
Plan well in advance: Making your own invitations takes longer than ordering them, so start early! Read more about the importance of planning: wedding planning calendar
Use simple tools: Canva, Adobe Spark and other online design tools can make the process easier.
Try out different templates: Many tools offer templates that can help you get started with a professional-looking basic design.
Creating your own wedding invitations is a lovely way to kick off your wedding planning in a personal and memorable way. Make the most of the moment and enjoy being creative!
Related articles
-
 Planning
The Last-Minute Edit: The last thing you need to know before saying ‘I do’
The week before the wedding is filled with anticipation, excitement and the very last-minute preparations. At the same time, it’s also easy to get bogged…
-
 Planning
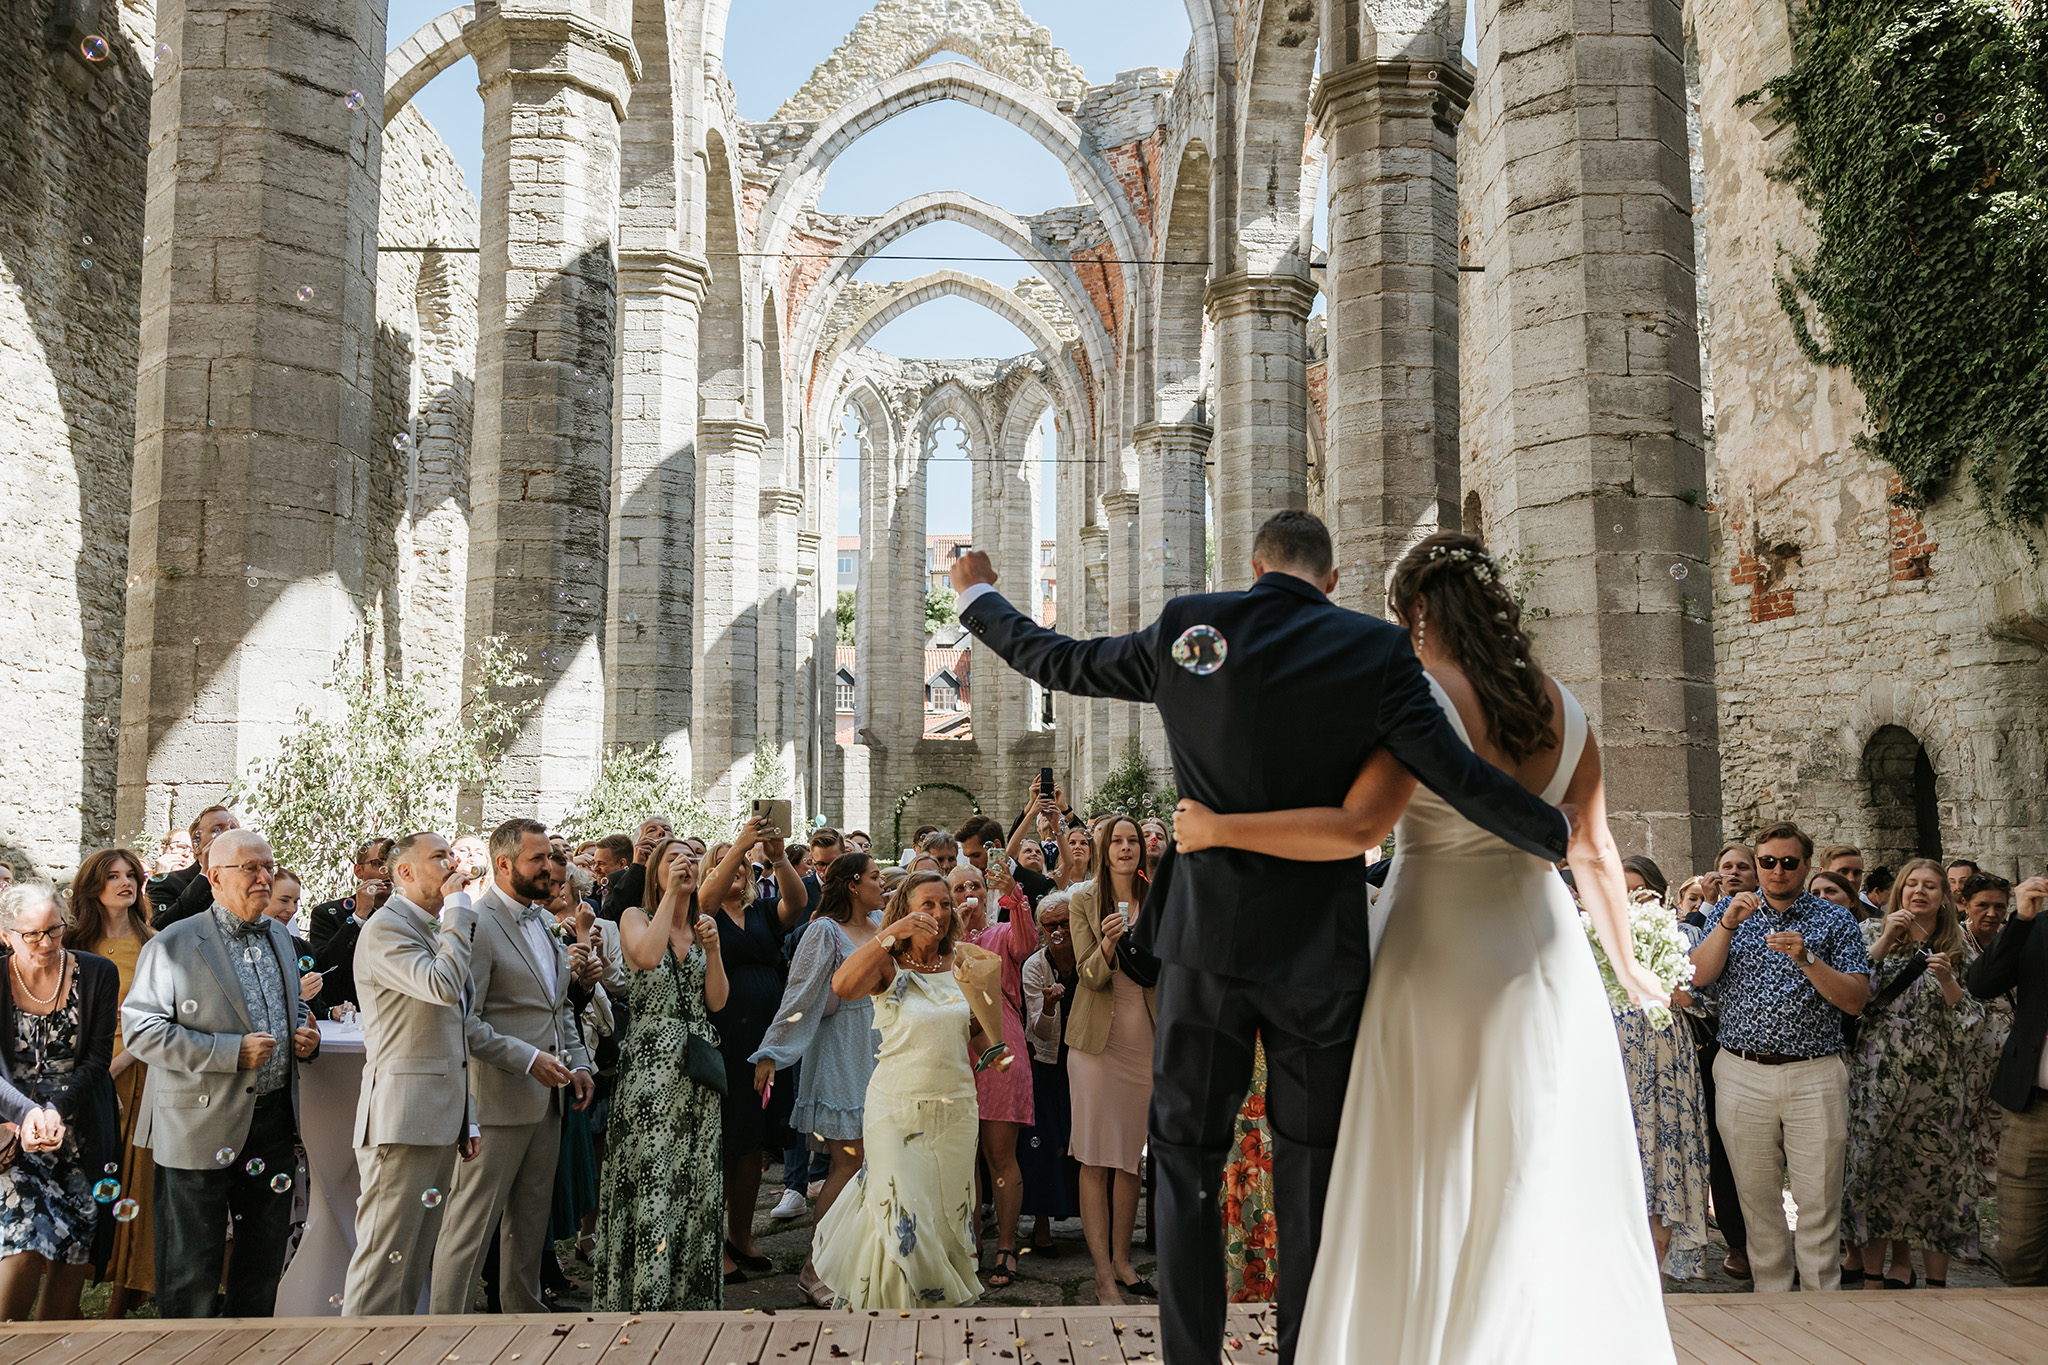
Weddings on Gotland: The ultimate guide to planning your dream day
Are you planning a wedding on Gotland? Get the experts’ top tips on prices for a ruin wedding in Visby, the town’s hidden trapdoor and…
-
 Fashion
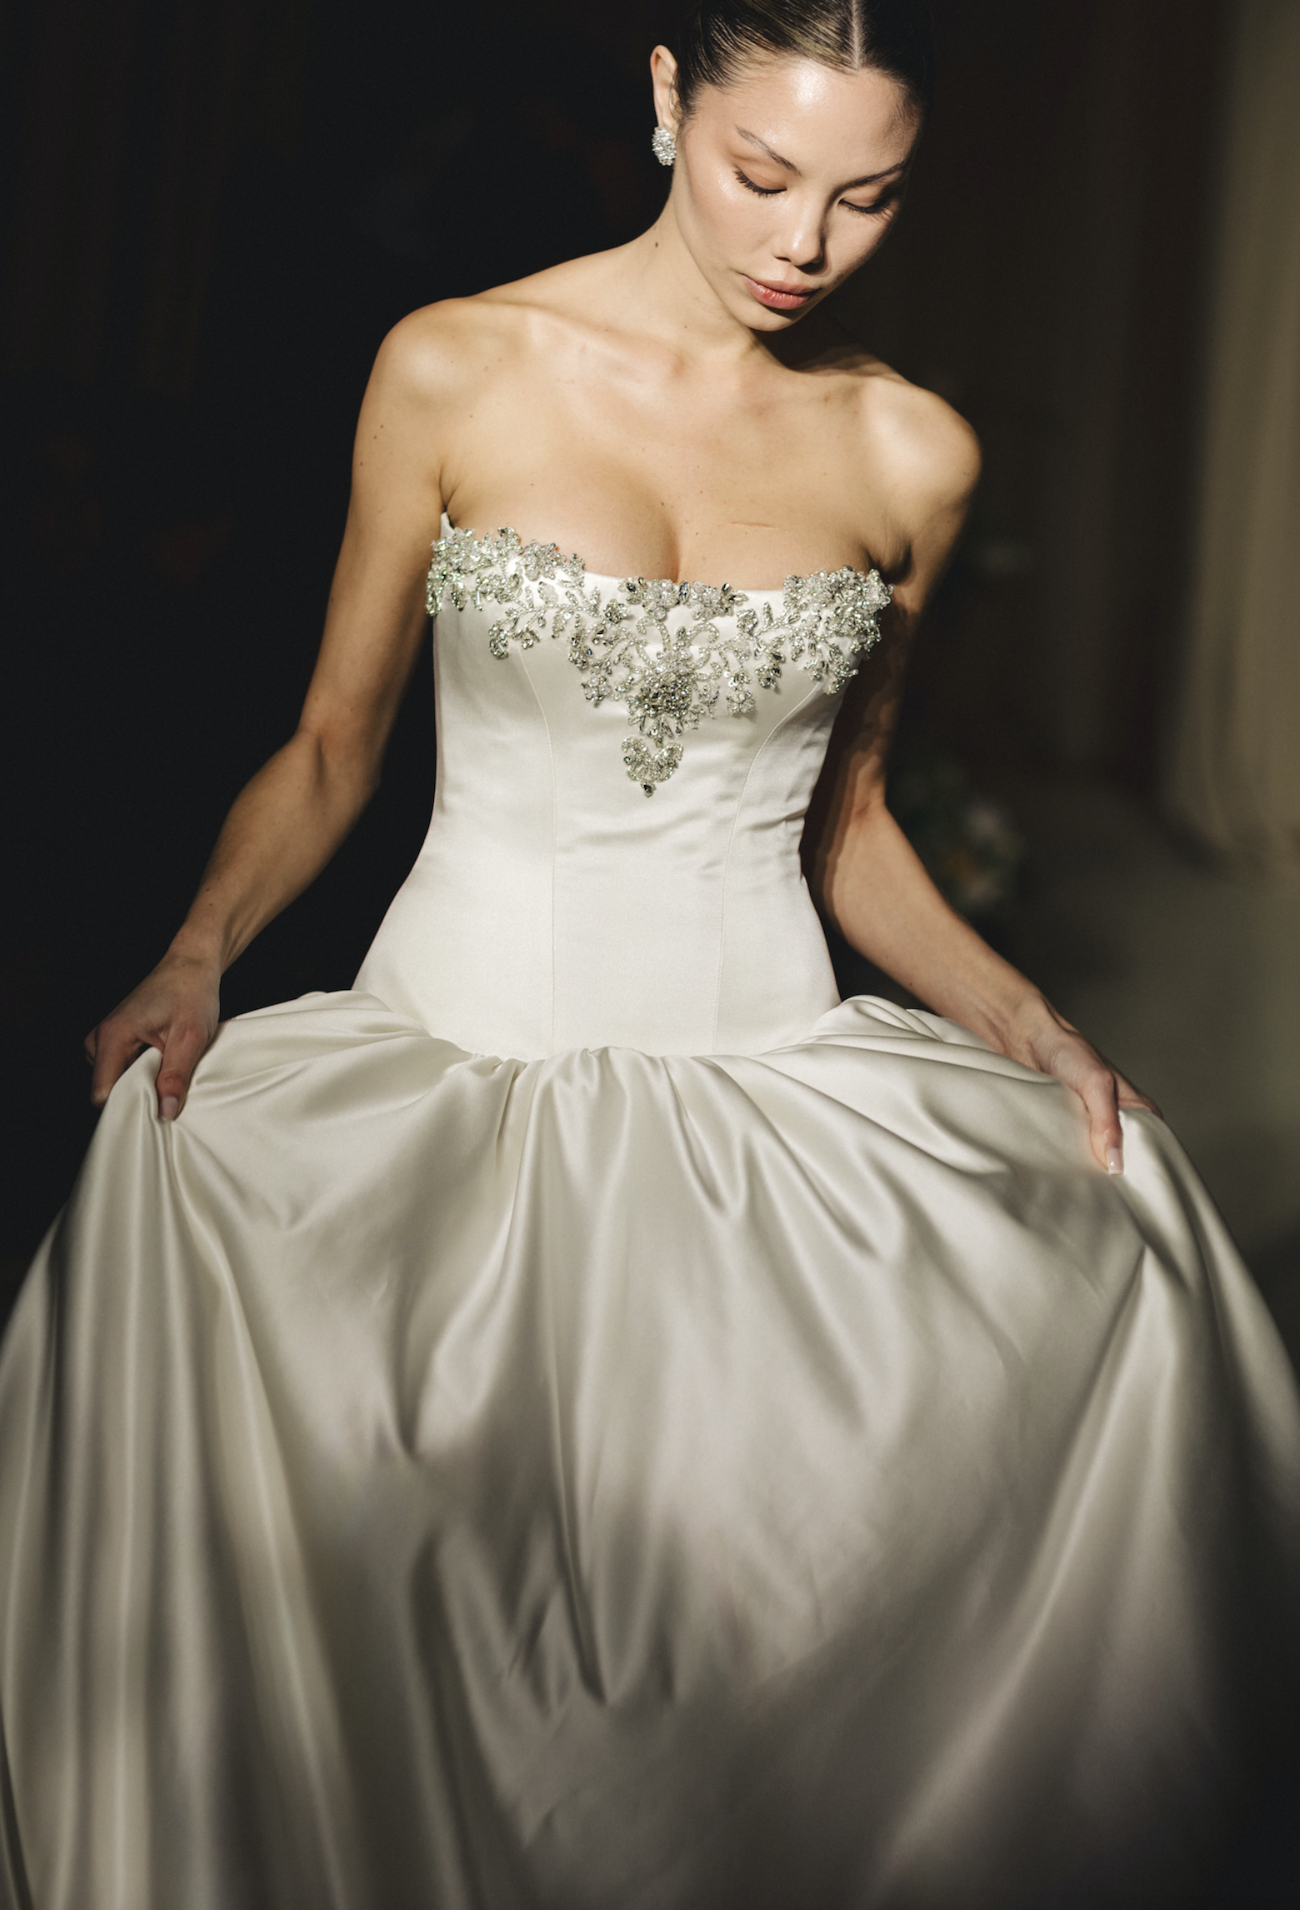
From your dream dress to a complete bridal wardrobe
Planning your wedding style is about so much more than just finding the perfect dress. For the fashion-conscious bride, every look – from the welcome…
-
 Planning
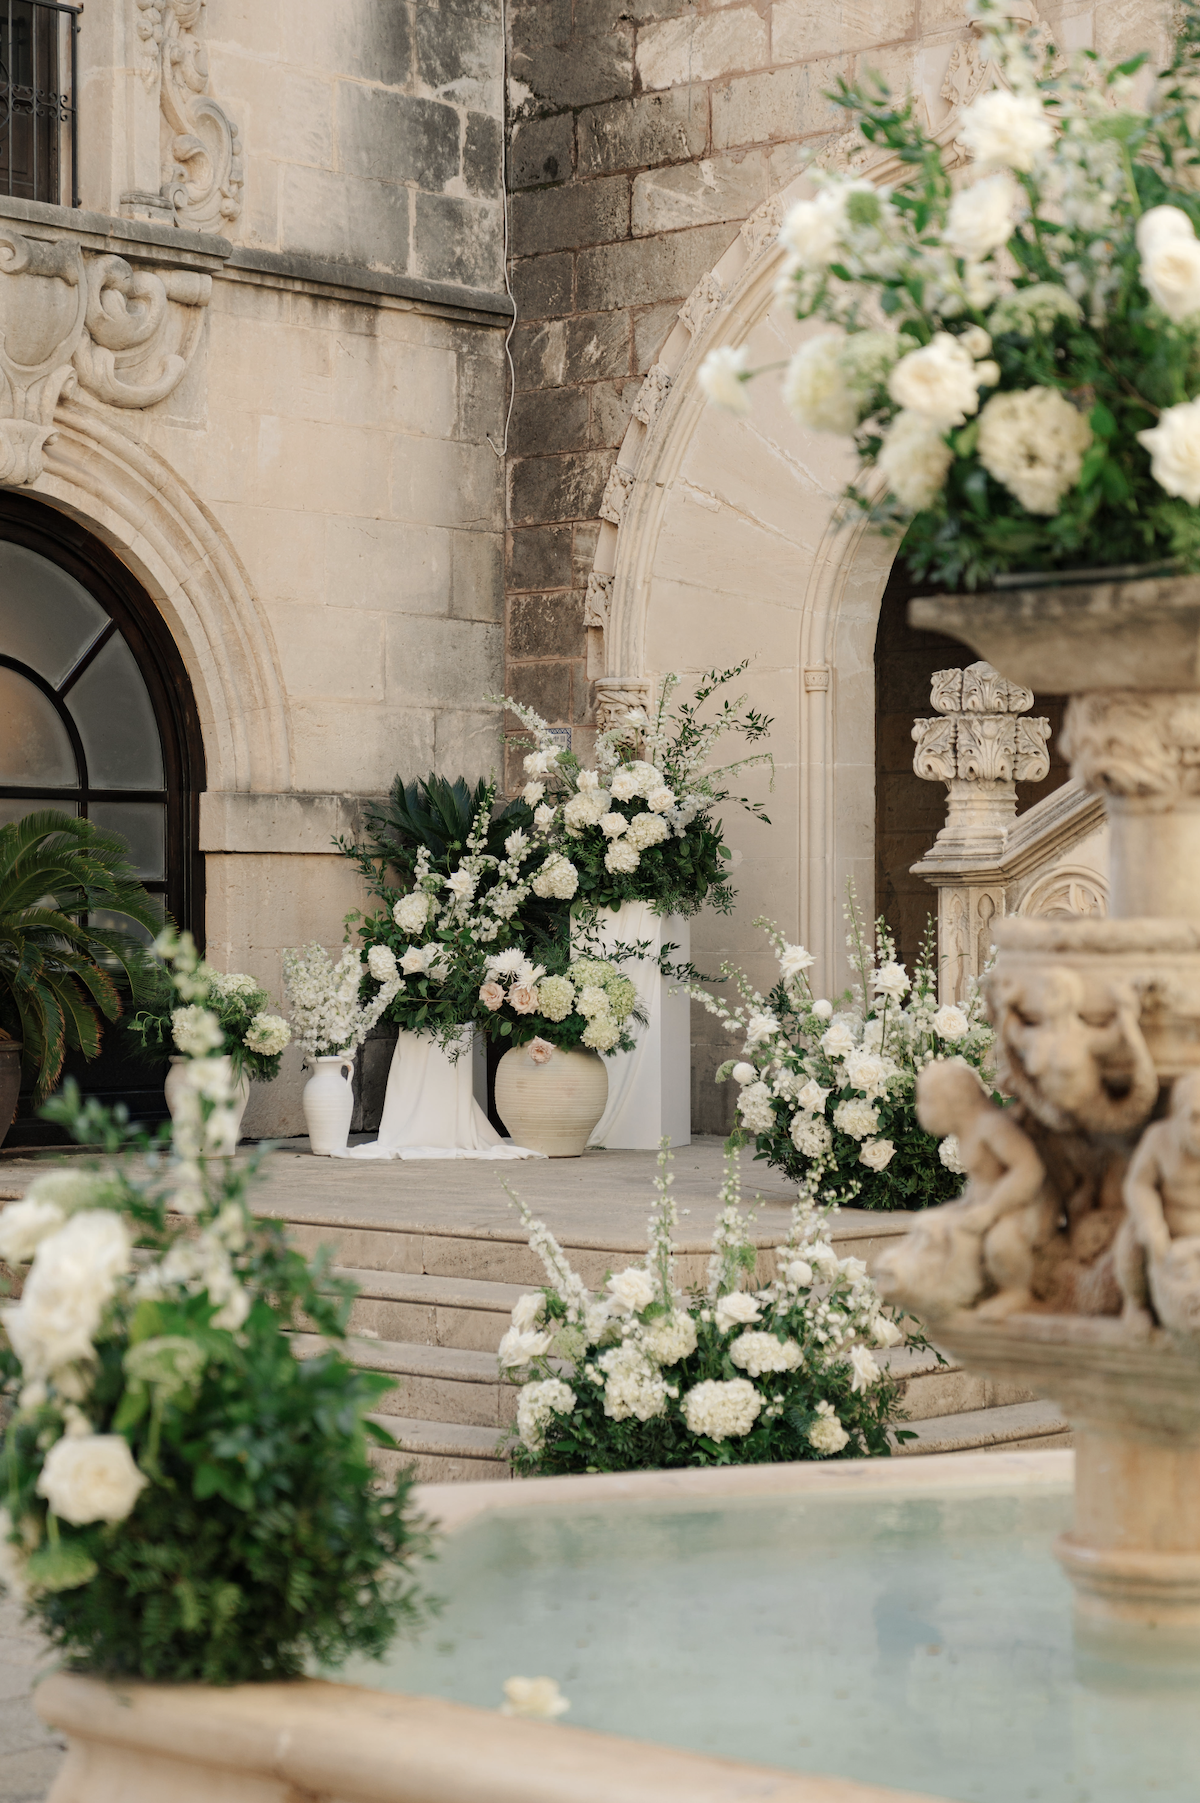
Destination Dreams: Plan a wedding abroad without losing control
There are few things that feel as romantic and cinematic as a destination wedding. Saying ‘I do’ under the warm Italian sun, on a whitewashed…
-
 Planning
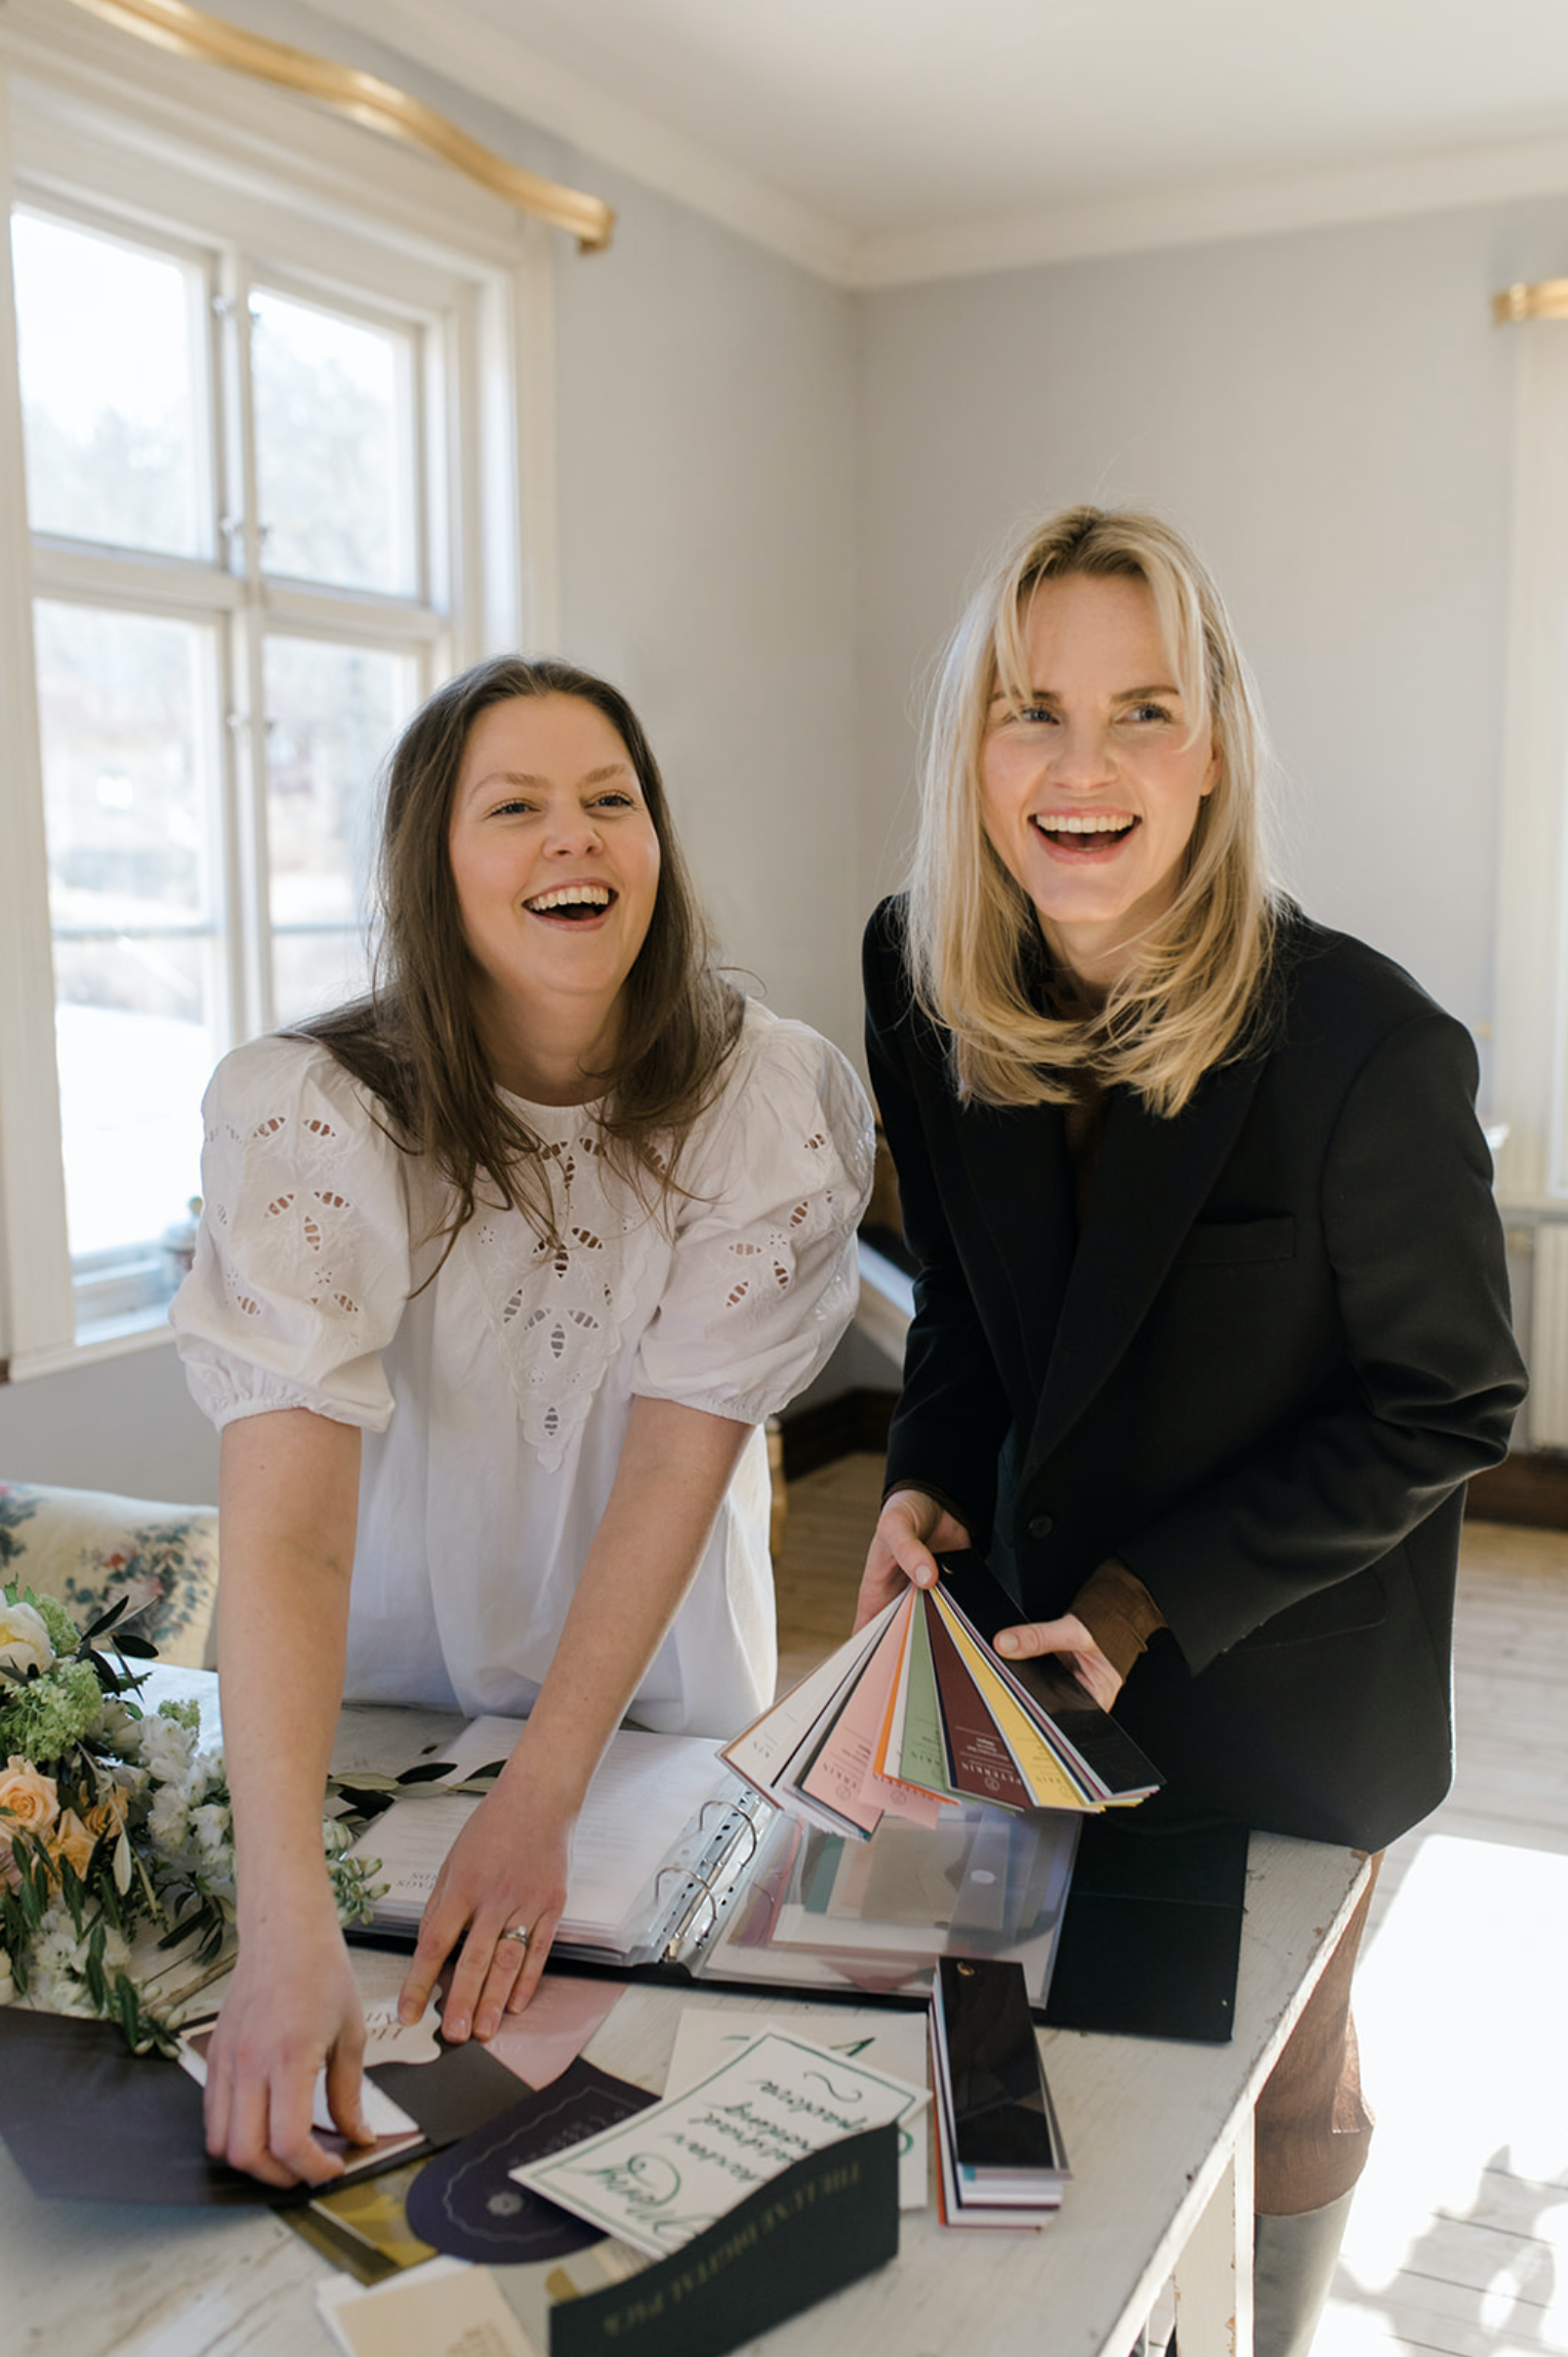
Insider tips from the wedding planner behind Freddy Studios
She transforms love into living concepts. Meet the wedding planner behind Freddy Studios.